Description
Is your basement not being used to its full potential? Perhaps you started renovating this versatile space but gave up before completion? If yes, don’t worry. It is never too late to transform your basement into a useful and welcoming area of your home.
Keep reading to discover how you can finish your dream basement in just five stages and nine simple steps. Trust us; you won’t believe how quickly the space will come together once you get started!
Planning Stage
Step 1: Clear out the clutter
If you have been using your basement as a space to store any junk or trash you don’t want in your house, then now is the time to tackle this chaotic clutter. Whether you have old furniture that will never be restored, bags of garden waste that you’ve meant to get rid of for ages, or just a load of unwanted or broken toys, the simplest and quickest way to get rid of items you no longer want is by renting a residential dumpster. With all your items cleared out, either into a dumpster or placed in your home for safekeeping until you are finished with the basement, move onto the next step.
Step 2: Waterproof your walls
A basement that is prone to moisture may become damp, which can lead to a whole host of issues. Therefore, it can be a good idea to make sure your basement is as waterproof as possible.
You should paint the walls using waterproof paint, make sure downspouts are redirected away from your foundation, and regrade the slope of your lawn to ensure water drains away from your basement.

Step 3: Apply for permits
You must check local building codes before you start work on your basement, as there may be certain requirements about the number of doors needed or the ceiling height. Once you know that you are adhering to the necessary codes, you can then apply for your permits and get started.
Insulation Stage
Step 4: Insulate your walls
There are several options when it comes to insulating your basement walls, but the most straightforward and cost-effective one is the use of polystyrene foam. This is applied directly to the foundations of your walls and is very easy to do.
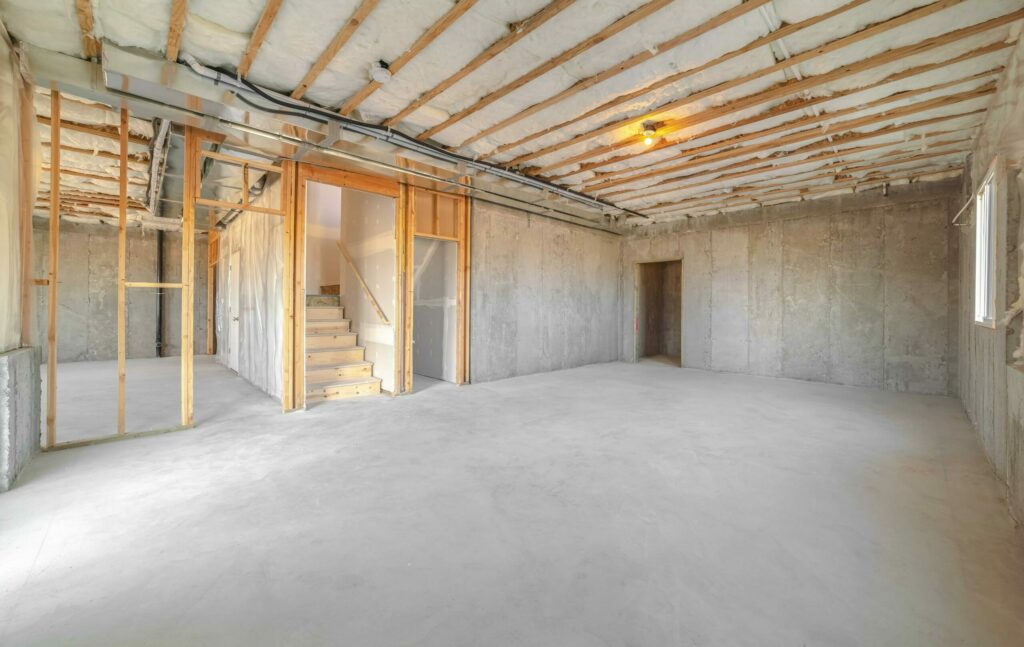
Once you have applied the polystyrene foam as per the manufacturer’s instructions, you now need to frame your wall, install your utilities and install drywall. You can find many tutorials online for all of these tasks, and each can be carried out with limited DIY experience.
Flooring Stage
Step 5: Choose your flooring
When choosing the flooring for your basement, you need to bear in mind that this room has different needs than other rooms in your home as it is more prone to leaks and flooding. This means that you should always opt for a waterproof flooring option.
Fortunately, there are several visually appealing and affordable options for you to choose from, including vinyl, which is incredibly easy to lay, and tiles that can be cleaned with ease.
Some people choose to lay inexpensive carpet tiles as these are also easy to install and can be lifted up and dried out if a leak does occur.
Step 6: Install your flooring
Before you install your chosen flooring, you should first install a subfloor, as this will act as a protective layer against moisture. You can use plywood and polystyrene sheets to build your subfloor and then simply install your flooring as per the manufacturer’s instructions.
Ceiling Stage
Step 7: Choose your ceiling
Although this is an optional step, if you want your basement to look like a proper room, then you need to install a finished ceiling rather than simply paint over any exposed pipes.

When it comes to selecting a ceiling for your basement, there are two types to choose from:
- Drop ceiling. This is the cheapest option and will effectively enable you to cover up any pipes and floor joists.
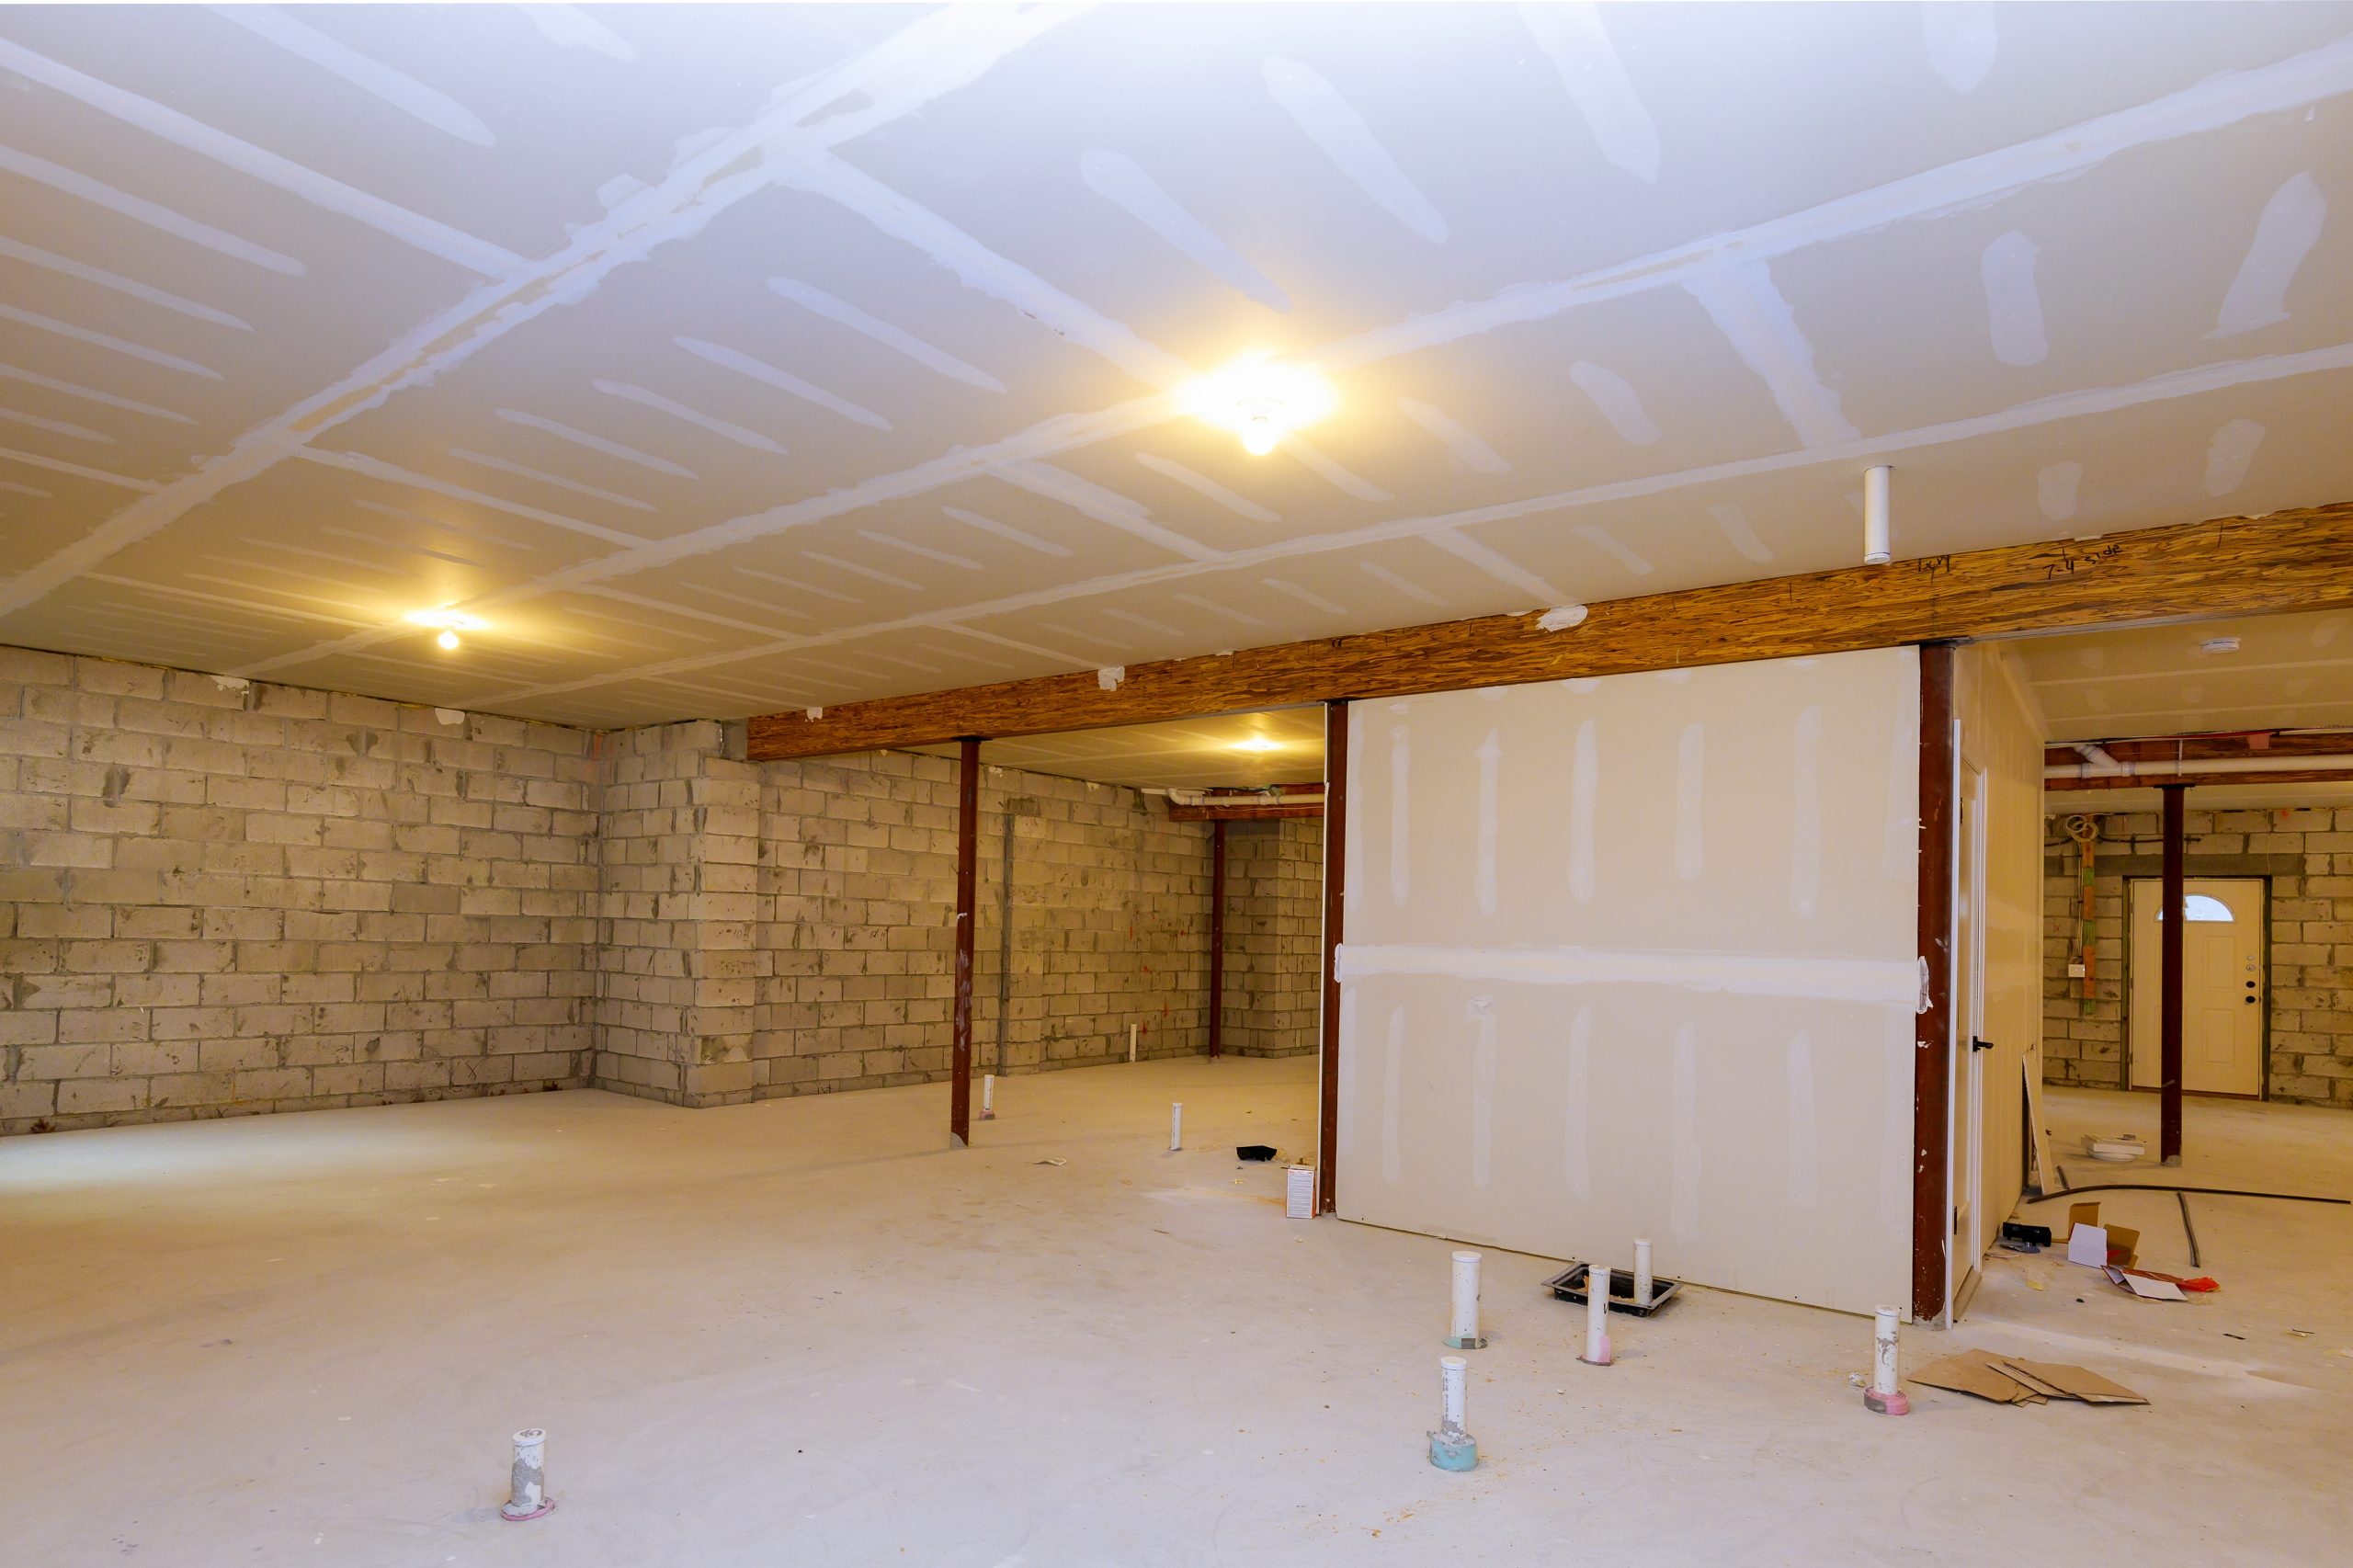
- Drywall ceiling. This will provide a more polished finish but will require a bit more effort.
Step 8: Install your ceiling
If you have chosen to install a drop ceiling using tiles, you will only need a few basic tools and an installation kit, and you are good to go. One of the main advantages of a drop ceiling is that you can easily replace any broken tiles without having to re-do the entire ceiling.
On the other hand, if you choose to drywall your ceiling, this will require a little more expertise, and you will need to acquire a drywall jack or the help of a friend or family member. Make sure that you leave an access hole in your drywall for future access to pipes and ventilation.
Interior Design Stage
Step 9: Choose your interiors
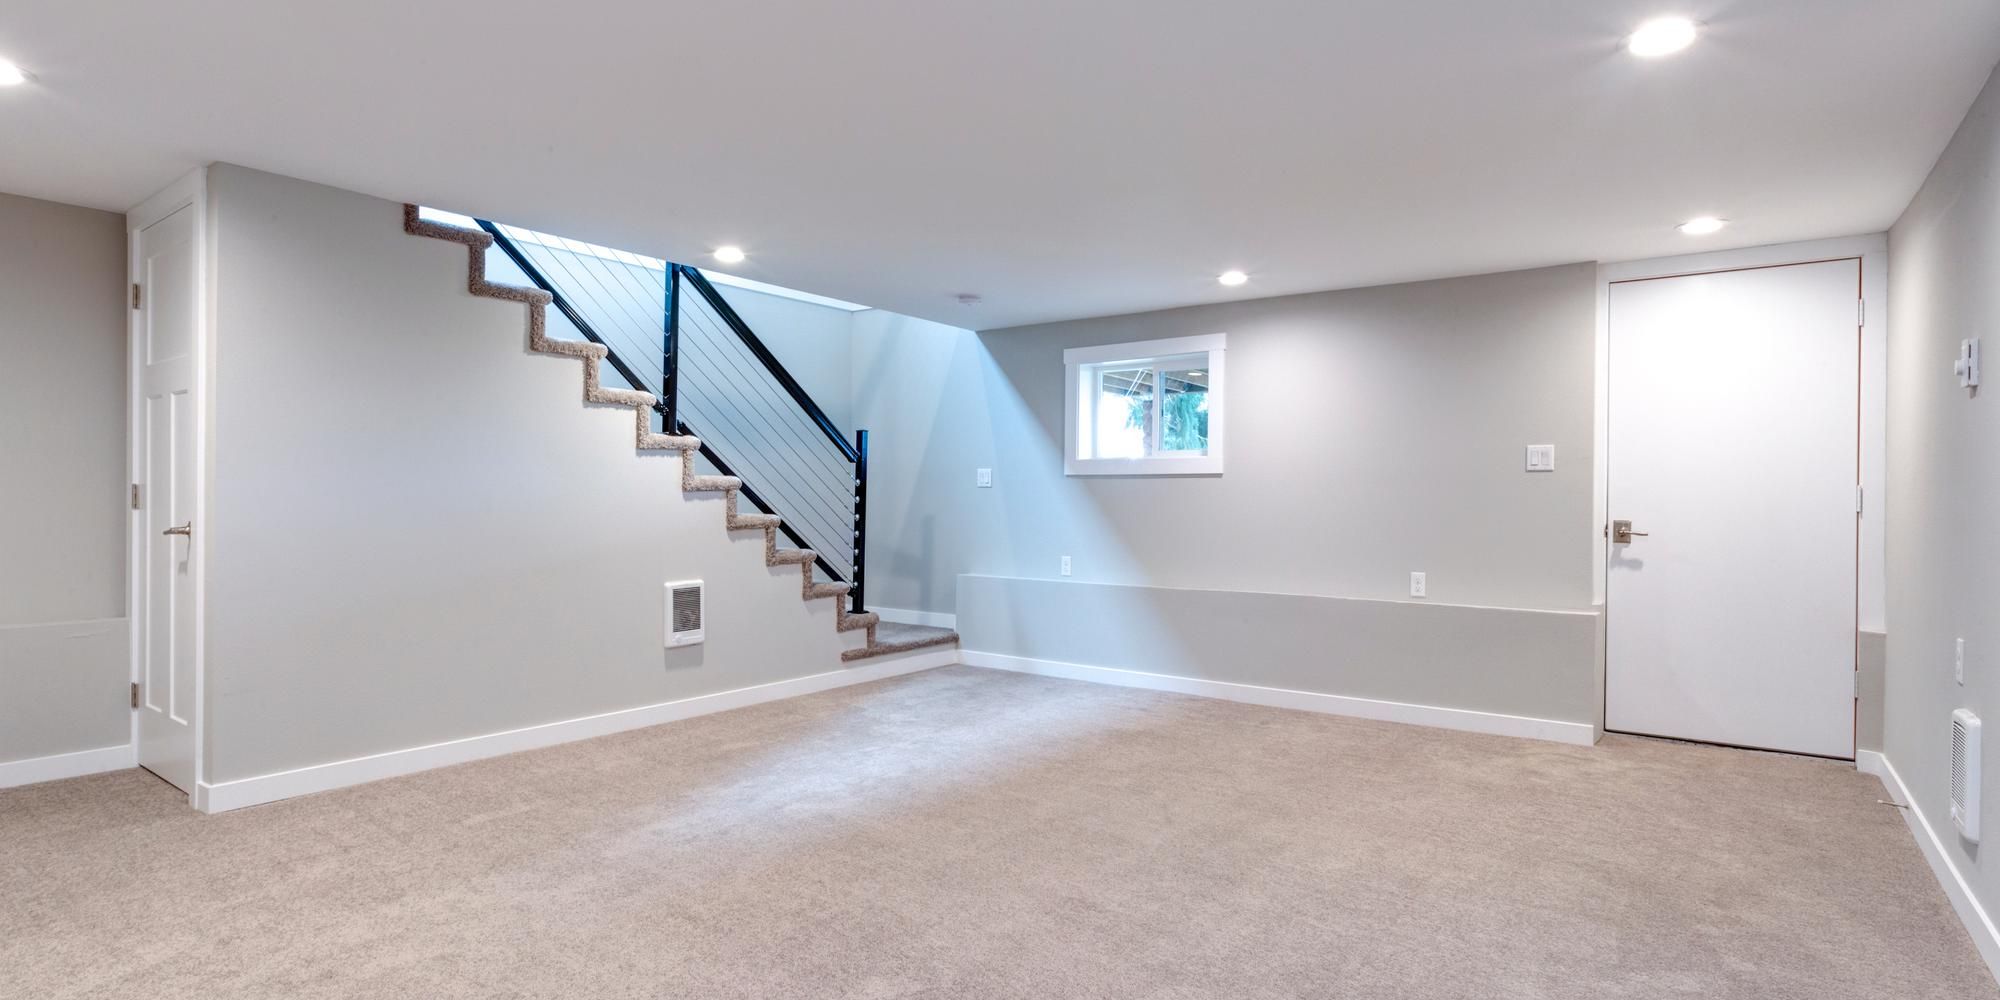
The most problematic aspect of creating a basement for many is the task of making it feel like a bright and welcoming space. Fortunately, there are many techniques that you can try to make your basement look beautiful rather than bleak. Of course, what you intend to use the room for will largely dictate what interior features you add, but the below tips can help to brighten up any basement:
- Dress up the walls with tall wainscot.
- Use space-saving storage options such as open shelving or fold away workspaces
- Layer your lighting with a wall sconce and lamps
- Remove the first-floor door to let the light shine down the staircase
- Hang a few decorative mirrors
- Improve the air quality with indoor house plants
- Embrace minimalist design
Congratulations! You now have a completed basement that will not only offer additional space for you and your family to enjoy but will also add significant value to your property.
Don’t forget; there is still so much more you can do to your basement to make it a more useful space. You could add a home bar, make it into a game room, create your own home movie theater or even build a wine cellar! Now that you have completed the basic building jobs, there are so many possibilities, so why not let your imagination run wild and create your ultimate basement? Just remember any waste you generate in the process to give us a call for your dumpster rental!
Good luck!
